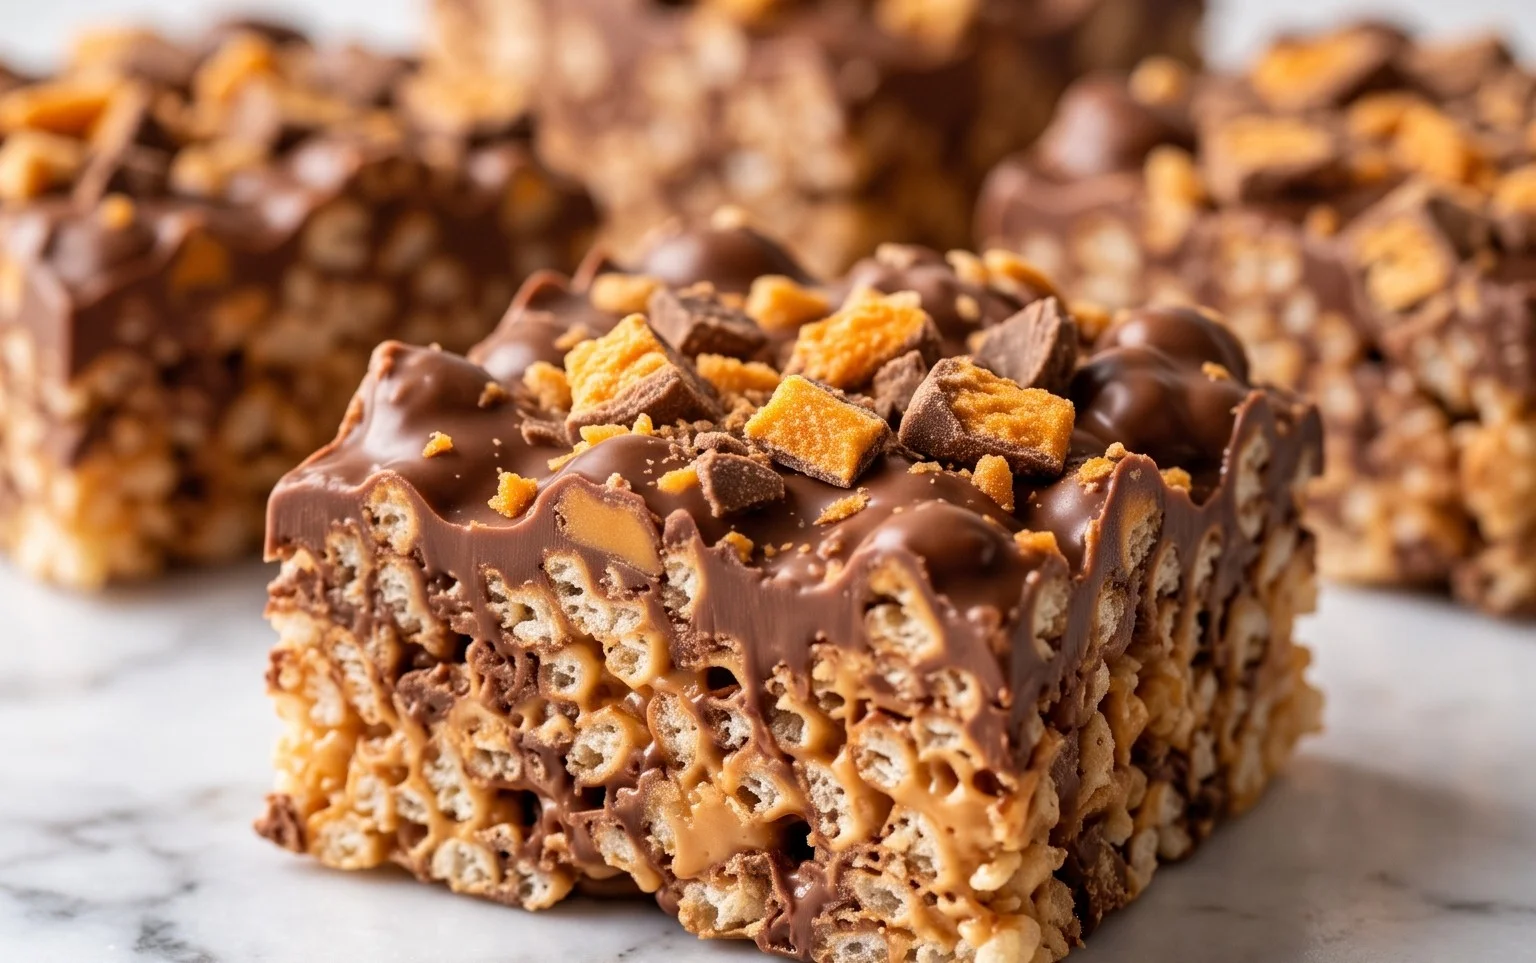
Easy Rice Krispie Treat Pumpkins – Festive Fall Fun
Rice Krispie Treat Pumpkins are the absolute cutest and most delicious way to celebrate autumn! Forget the messy carving and go straight for the sweet, gooey goodness that everyone adores. There’s something undeniably magical about these nostalgic treats, isn’t there? They’re so simple to make, making them a perfect activity for families or a quick, delightful snack for any fall gathering. What makes these Rice Krispie Treat Pumpkins truly special is their charming transformation from ordinary squares into festive, bite-sized symbols of the season. We’re talking about the perfect balance of crispy, chewy, and sweet, all shaped into adorable little pumpkins that are almost too cute to eat… almost! Get ready to impress your friends and family with these wonderfully whimsical treats.

Rice Krispie Treat Pumpkins
Get ready to embrace the cozy spirit of autumn with these adorable and delicious Rice Krispie Treat Pumpkins! They’re a fun and easy project for bakers of all ages and are guaranteed to be a hit at any Halloween party, fall gathering, or simply as a festive treat to brighten your day. We’re taking the classic, comforting Rice Krispie treat and giving it a playful pumpkin makeover, complete with a sweet Rolo stem and M&M’s for a touch of green vine. Let’s dive in and get our hands a little sticky!
Ingredients:
Creating Your Pumpkin Patch
This recipe is all about transforming a beloved childhood favorite into a charming Halloween decoration. The process is quite straightforward, but the results are incredibly rewarding. The key to shaping these treats into perfect pumpkins lies in a little bit of patience and a helpful hand with the cooking oil or melted butter. Don’t worry if your first few aren’t perfectly round; they’ll still taste amazing and look delightfully rustic!
Step-by-Step Pumpkin Assembly
1. Melt the Marshmallow Base: In a large saucepan over low heat, melt the 1/4 cup of butter. Once the butter is completely melted and coats the bottom of the pan, add the entire bag of large marshmallows. Stir continuously with a spatula, ensuring the marshmallows don’t scorch on the bottom. Continue stirring until the marshmallows are completely melted and smooth, creating a gooey, luscious mixture. This low and slow approach is crucial to prevent burning and achieve a silky smooth texture for your treats. Be patient; it might take a few minutes for all those marshmallows to succumb to the heat and melt into a unified mass.
2. Infuse with Pumpkin Color: Once the marshmallows are fully melted and smooth, remove the saucepan from the heat. Now comes the fun part – transforming our white marshmallow mixture into a vibrant pumpkin orange! Add a few drops of red liquid food coloring and a few drops of yellow liquid food coloring. The amount of food coloring you’ll need will depend on the brand and desired intensity of your orange hue. Start with a few drops of each and stir thoroughly until the color is evenly distributed. You’re aiming for a cheerful, bright pumpkin orange. Continue adding drops and stirring until you achieve your perfect shade. Remember, it’s easier to add more color than to take it away, so gradually build up to your desired intensity. This step is where the magic truly begins to happen, turning our simple base into something that screams fall.
3. Combine with Cereal and Shape: Add the 6 cups of Rice Krispies cereal to the melted marshmallow mixture. Gently fold the cereal into the marshmallow until it is evenly coated. Work relatively quickly at this stage, as the marshmallow mixture will start to set. Next, prepare your hands by coating them generously with the 1/4 cup of cooking oil or melted butter in the small bowl. This is your secret weapon for preventing the sticky mixture from adhering to your skin. Scoop out portions of the Rice Krispie mixture (about the size of a small fist) and begin to gently shape them into round pumpkin forms. Don’t worry about making them perfectly spherical; slightly irregular shapes actually add to the charm of homemade pumpkins. You can press them together slightly to ensure they hold their shape.
4. Add the Festive Details: Once you have your pumpkin shapes formed, it’s time to add those essential pumpkin details. For the stem, unwrap a mini Rolo and gently press it into the top center of each pumpkin shape. The Rolo will slightly embed itself, creating a sturdy and delicious stem. For the vines and leaves, take a few green M&M’s and gently press them into the side of the pumpkin or near the stem. You can even use the tip of a knife or a toothpick to gently nudge them into place, creating a more organic look. This is where you can get creative and personalize each pumpkin. Some might have a single Rolo stem, while others could have a couple of M&M’s peeking out like tendrils.
5. Allow to Set and Enjoy: Place your finished Rice Krispie Treat Pumpkins on a parchment-lined baking sheet or wax paper to allow them to set completely. This usually takes about 30-60 minutes at room temperature. As they cool, they will firm up and hold their shape beautifully. Once they are fully set, they are ready to be devoured! You can store any leftovers in an airtight container at room temperature for up to two days, though I doubt you’ll have any left! These are best enjoyed fresh. Gather your friends and family, admire your festive creations, and enjoy every sweet, chewy bite of your homemade Halloween delights.

Conclusion:
And there you have it! Crafting these adorable Rice Krispie Treat Pumpkins is a delightful and surprisingly simple way to bring some festive charm to your autumn celebrations. The magic lies in their classic, chewy texture combined with a fun, seasonal shape. They’re perfect for parties, classroom treats, or just a sweet afternoon snack that’s guaranteed to bring smiles. Imagine them gracing your dessert table, a colorful and cheerful addition that everyone will rave about. We’ve found they pair wonderfully with a glass of cold milk or even a warm mug of apple cider. For even more fun, consider adding a sprinkle of edible glitter for extra sparkle, or perhaps some green candy melts for little pumpkin stems.
Don’t be afraid to get creative! You can easily adapt this recipe to other fall shapes like leaves or ghosts. The beauty of this treat is its versatility. So, gather your ingredients, put on some festive music, and give these Rice Krispie Treat Pumpkins a try. I’m confident you’ll find them just as rewarding and delicious to make as they are to eat!
Frequently Asked Questions:
Can I make these Rice Krispie Treat Pumpkins ahead of time?
Absolutely! These treats are excellent for making a day or two in advance. Store them in an airtight container at room temperature. Just be sure they are completely cooled before packaging to prevent any condensation.
How do I get the perfect pumpkin shape?
The trick is to work quickly while the mixture is still warm but cool enough to handle. Lightly buttering your hands or using a piece of parchment paper will help prevent sticking. For the pumpkin shape, gently mold the mixture into a slightly flattened ball, then use a knife or spatula to create the characteristic indentations by gently pressing down from the top, radiating outwards. You can also use a round cookie cutter if you prefer.
Can I use different colors for the frosting or candy melts?
Definitely! While orange is classic for our Rice Krispie Treat Pumpkins, feel free to experiment. Green candy melts make fantastic stems, and you could even use a little white or yellow frosting for eyes and mouths on ghost-shaped treats!
Rice Krispie Treat Pumpkins
A fun and festive Halloween treat shaped like pumpkins using Rice Krispie treats. Easy to make and perfect for parties!
Ingredients
-
1/4 cup Butter
-
1 bag large marshmallows (approximately 40 marshmallows)
-
6 cups Rice Krispies
-
Red liquid food coloring
-
Yellow liquid food coloring
-
Mini Rolos
-
Green M&M’s
-
1/4 cup cooking oil or melted butter in a small bowl (to keep it from sticking to your hands)
Instructions
-
Step 1
Grease a 9×13 inch baking pan with cooking oil or melted butter. Set aside. -
Step 2
In a large pot, melt the butter over low heat. Add the marshmallows and stir until completely melted and smooth. -
Step 3
Remove the pot from heat. Add the red and yellow food coloring a drop at a time, stirring until you achieve a vibrant orange color. Be careful not to add too much, as it can make the mixture too liquid. -
Step 4
Add the Rice Krispies cereal to the melted marshmallow mixture and stir until well combined and evenly coated. -
Step 5
Lightly grease your hands with cooking oil or melted butter. Take about 1/4 cup of the mixture and shape it into small pumpkin shapes. Place the shaped pumpkins onto the greased baking pan. -
Step 6
While the treats are still slightly warm, press a Mini Rolo into the top of each pumpkin to create a stem. Then, gently press a Green M&M into the Rolo for a leaf detail. -
Step 7
Allow the Rice Krispie Treat Pumpkins to cool and set completely before serving.
Important Information
Nutrition Facts (Per Serving)
It is important to consider this information as approximate and not to use it as definitive health advice.
Allergy Information
Please check ingredients for potential allergens and consult a health professional if in doubt.