Easy Oreo Rice Krispie Treats Recipe
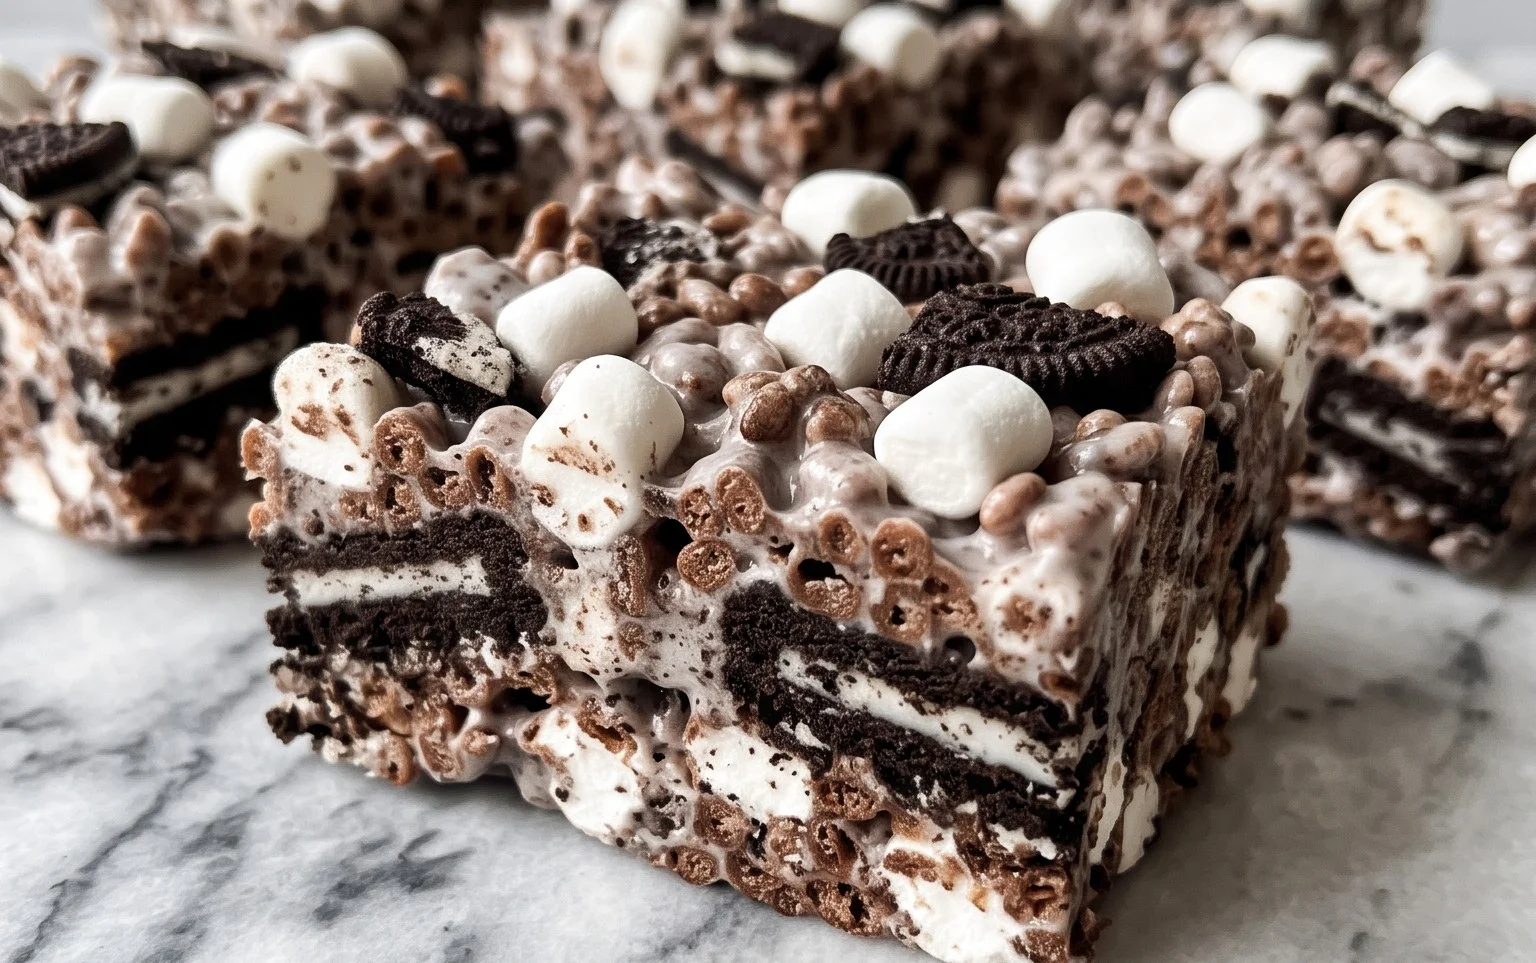
Oreo Rice Krispie Treats take a classic childhood favorite and inject it with the irresistible crunch and creamy filling of everyone’s favorite chocolate sandwich cookie. These aren’t just your average Rice Krispie treats; they’re a delicious upgrade that’s surprisingly simple to make. The magic happens when you fold crushed Oreos into the warm, gooey marshmallow mixture. You get the familiar chewy texture from the cereal and marshmallows, but with added bursts of chocolatey, cookie goodness throughout. They are perfect for anyone who loves Oreos and enjoys a bit of nostalgic fun in their desserts. Making them is a great activity for kids, and they always disappear fast at parties or bake sales. The contrast of textures—crispy cereal, soft marshmallow, and crumbly cookie—makes each bite exciting.
Preparation Steps
You’ll need a large pot for melting the butter and marshmallows, and a sturdy spoon or spatula for mixing. A 9×13 inch baking pan is ideal for creating a nice, even layer of treats. Make sure to grease your pan well ahead of time. You can use butter, cooking spray, or even a thin layer of shortening. This prevents the sticky marshmallow mixture from adhering to the pan, which would make for a very frustrating cleanup and potentially torn treats. I find that lining the pan with parchment paper and then greasing the parchment paper gives you the easiest release and cleanest edges. Don’t skip this step; it’s key to getting your treats out in one piece.
Ingredients:
- ½ cup unsalted butter
- 20 ounces mini marshmallows
- 1 teaspoon vanilla extract
- 1 pinch salt
- 7 cups Rice Krispies cereal
- 24 Oreo cookies
Making Oreo Rice Krispie Treats
These treats are a familiar comfort, but with a fun twist. The classic gooey marshmallow and crispy rice cereal base gets a serious upgrade with the addition of everyone’s favorite chocolate sandwich cookies, Oreos. You get that satisfying crunch from the cereal, the chewy sweetness from the marshmallows, and then those delightful chocolatey, creamy pockets of Oreo goodness scattered throughout. They’re incredibly easy to make, which is always a bonus when you’re craving something sweet and impressive with minimal effort. They’re perfect for parties, bake sales, or just a weekend treat to brighten everyone’s day. The combination of textures and flavors is just spot on.
Preparation Steps
You’ll need a large pot for melting the butter and marshmallows, and a sturdy spoon or spatula for mixing. A 9×13 inch baking pan is ideal for creating a nice, even layer of treats. Make sure to grease your pan well ahead of time. You can use butter, cooking spray, or even a thin layer of shortening. This prevents the sticky marshmallow mixture from adhering to the pan, which would make for a very frustrating cleanup and potentially torn treats. I find that lining the pan with parchment paper and then greasing the parchment paper gives you the easiest release and cleanest edges. Don’t skip this step; it’s key to getting perfect, un-mangled squares.
Also, have your ingredients measured and ready to go before you start melting the marshmallows. Marshmallows can go from perfectly melted to scorched in a matter of seconds, so you want to be able to move quickly once the melting begins. Roughly chop the Oreo cookies; you don’t want them to be fine crumbs, but rather broken into pieces. This will give you those satisfying chunks of cookie throughout the treats. You can do this by placing them in a zip-top bag and gently crushing them with a rolling pin or the bottom of a glass. Aim for pieces that are about quarters or halves of a cookie, with some smaller bits mixed in.
Cooking Instructions
- Melt the Butter and Marshmallows: In a large pot or Dutch oven, melt the ½ cup of unsalted butter over low heat. Once the butter is completely melted and just starting to bubble, add the 20 ounces of mini marshmallows. Continue to stir gently over low heat until the marshmallows are completely melted and smooth. It’s important to keep the heat low to prevent scorching the marshmallows, which can give your treats an unpleasant burnt flavor. Once melted, remove the pot from the heat.
- Add Flavor and Salt: Stir in the 1 teaspoon of vanilla extract and the 1 pinch of salt into the melted marshmallow mixture. The vanilla adds a lovely depth of flavor that complements the sweetness of the marshmallows and the chocolate of the Oreos. The salt helps to balance the sweetness and bring out all the other flavors. Stir until everything is well combined and smooth.
- Incorporate the Cereal and Oreos: Add the 7 cups of Rice Krispies cereal to the melted marshmallow mixture. Stir gently until the cereal is evenly coated. This is where you want to be careful not to overmix or crush the cereal too much; you want to maintain its crispiness. Once the cereal is mostly coated, gently fold in the 24 chopped Oreo cookies. Stir just enough to distribute the cookie pieces throughout the cereal mixture. You want to see distinct chunks of Oreo, not have them disappear entirely.
- Press into Pan: Spoon the mixture into your prepared 9×13 inch baking pan. It will be sticky. You can use a greased spatula or your hands (lightly greased with butter or sprayed with cooking spray) to gently press the mixture evenly into the pan. Don’t press too firmly, as this can make the treats dense and hard. A gentle, even press is all you need to create a solid layer. Work quickly, as the marshmallow mixture will start to set.
- Cool and Cut: Let the treats cool completely at room temperature for at least 1-2 hours. Resist the urge to cut them while they are warm, as they will fall apart. Once fully cooled, you can cut them into squares using a sharp knife or a pizza cutter. For cleaner cuts, you can lightly grease your knife or cutter between slices. If you want to get fancy, you can even drizzle some melted white or dark chocolate over the top before they are fully set, or sprinkle some extra crushed Oreos. Store them in an airtight container at room temperature. They are best enjoyed within a few days.
Conclusion:
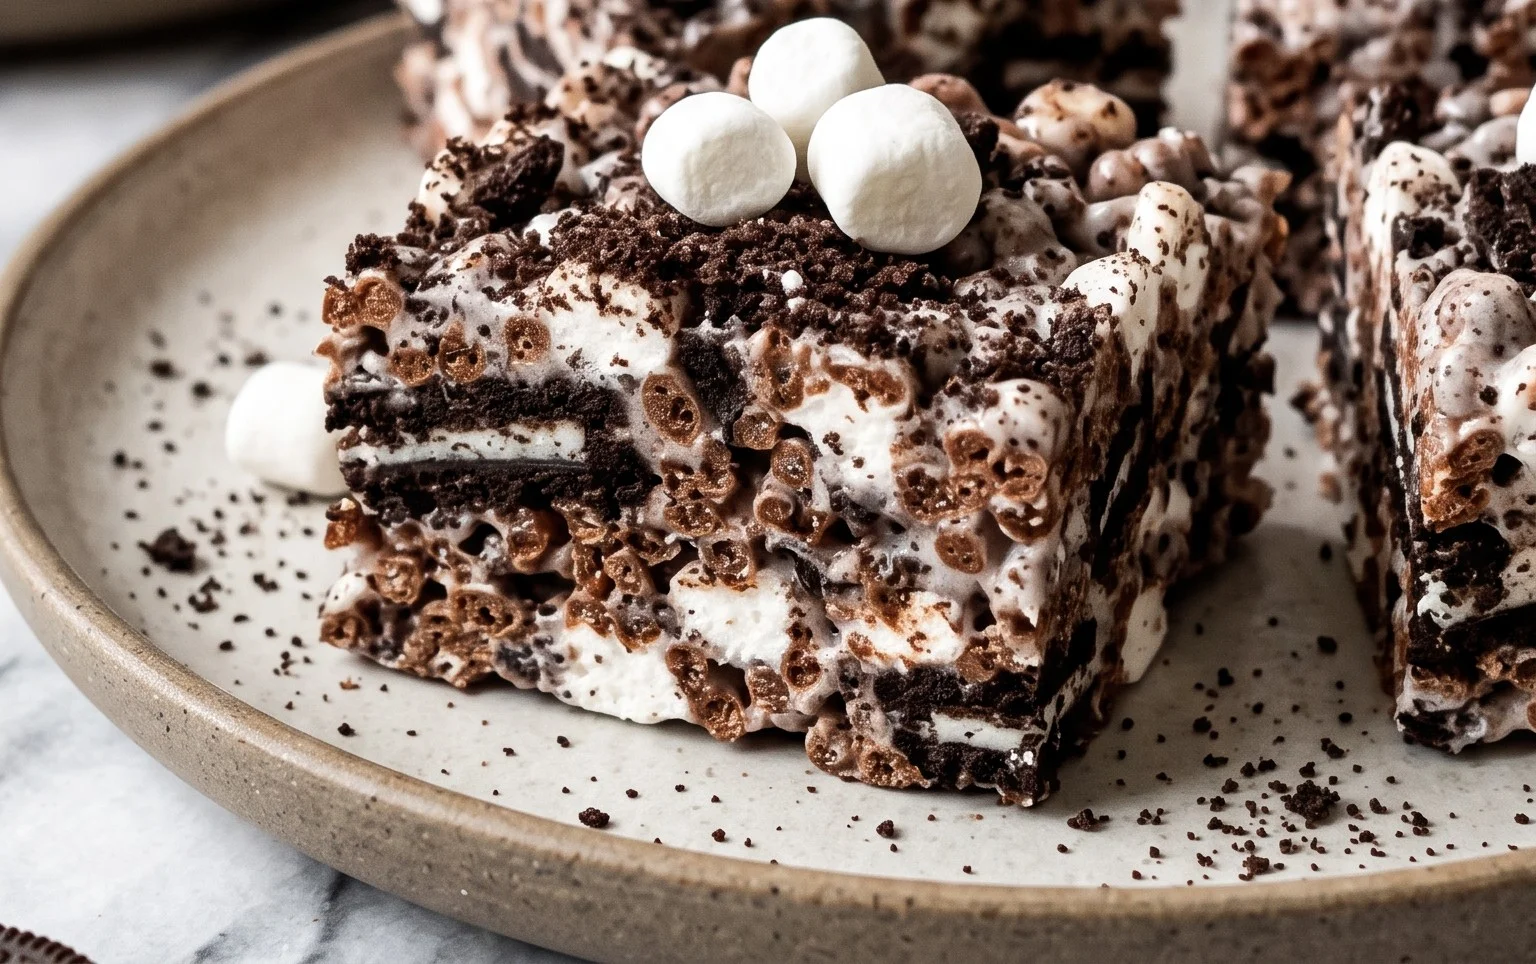
These Oreo Rice Krispie Treats are a fantastic way to give a beloved classic a delicious new twist. They’re incredibly easy to whip up, making them perfect for last-minute sweet cravings or planned celebrations. The combination of chewy, crispy, and chocolatey elements ensures everyone will love them. Serve them cut into squares for parties, or even cut them into fun shapes with cookie cutters for an extra touch. They store well, making them a great make-ahead treat. Don’t hesitate to give this recipe a try; you might find they become your new favorite way to enjoy this nostalgic dessert!
Frequently Asked Questions
Can I use regular marshmallows instead of mini marshmallows?
Yes, you can absolutely use regular-sized marshmallows. You’ll need the same amount by weight (20 ounces), but they will take a little longer to melt. Stir them frequently in the pot to ensure even melting and prevent scorching.
How should I store leftover Oreo Rice Krispie Treats?
To keep your Oreo Rice Krispie Treats fresh, store them in an airtight container at room temperature. Make sure they are completely cooled before sealing the container. They should stay soft and chewy for about 2-3 days.
Can I add other mix-ins to these treats?
Certainly! You can get creative with variations. Consider adding a handful of mini chocolate chips along with the Oreos, or even a swirl of peanut butter into the marshmallow mixture before adding the cereal and cookies for a different flavor profile.
Oreo Rice Krispie Treats
A delicious twist on classic Rice Krispie treats, incorporating crushed Oreos for a chocolatey crunch.
Ingredients
-
½ cup unsalted butter
-
20 ounces mini marshmallows
-
1 teaspoon vanilla extract
-
1 pinch salt
-
7 cups Rice Krispies cereal
-
24 Oreo cookies
Instructions
-
Step 1
Line a 9×13 inch baking pan with parchment paper, leaving an overhang on the sides. Lightly grease the parchment paper. -
Step 2
In a large saucepan, melt the butter over low heat. Add the mini marshmallows and stir until completely melted and smooth. -
Step 3
Remove the saucepan from the heat. Stir in the vanilla extract and salt. -
Step 4
Add the Rice Krispies cereal and crushed Oreo cookies to the marshmallow mixture. Stir until well combined and evenly coated. -
Step 5
Press the mixture evenly into the prepared baking pan using a buttered spatula or your hands. -
Step 6
Let the treats cool completely at room temperature before cutting into squares.
Important Information
Nutrition Facts (Per Serving)
It is important to consider this information as approximate and not to use it as definitive health advice.
Allergy Information
Please check ingredients for potential allergens and consult a health professional if in doubt.