Easy Dirt Cups Recipe For Kids
Dirt Cups These classic “dirt cups” are a fun and easy treat, perfect for kids’ parties, a silly dessert, or anytime you want something that’s both a little messy and incredibly delicious. They taste like rich chocolate pudding with a delightful cookie crunch, and the gummy worms always get a giggle. Making them is almost as much fun as eating them.
Ingredients:
- 3.4 ounces box instant chocolate pudding mix
- 2 cups milk
- 8 ounces whipped topping (thawed)
- 10-12 Oreo cookies (crushed)
- 32 gummy worms
Instructions:
The first step to creating these delightful dirt cups is preparing the chocolate pudding. In a medium-sized mixing bowl, you’ll combine the instant chocolate pudding mix with the milk. It’s important to use cold milk; using warm milk can lead to a pudding that doesn’t set properly. Whisk the mixture vigorously for about two minutes, or until it starts to thicken. You’ll notice it becoming smooth and rich. It’s crucial to get all the lumps out at this stage, so keep whisking until you have a consistent texture. Once it’s thickened, let it sit for about 5 minutes to allow it to set a little more before proceeding to the next step. This initial setting helps ensure a firmer base for our dirt cups.
Next, we need to incorporate the whipped topping to make our pudding light and airy. Gently fold the thawed whipped topping into the chocolate pudding. Don’t overmix this step; the goal is to create streaks of white within the dark chocolate, giving it a more “earthy” and less uniform appearance. Overmixing can make the pudding too thin. Once the whipped topping is mostly incorporated, you’ll have a lighter, fluffier pudding mixture that’s ready for assembly. This part really makes the pudding light and spoonable, perfect for layering.
Now it’s time to get those Oreos ready. Take your 10-12 Oreo cookies and place them in a sturdy plastic bag, like a zip-top bag. Use a rolling pin or the bottom of a heavy pan to crush the cookies into fine crumbs. You want a texture that resembles soil or dirt, so don’t leave large chunks. Some people prefer to use a food processor for this, but crushing them by hand is just as effective and adds to the fun, especially if kids are helping. Set the crushed Oreos aside; these will be our “dirt” layer.
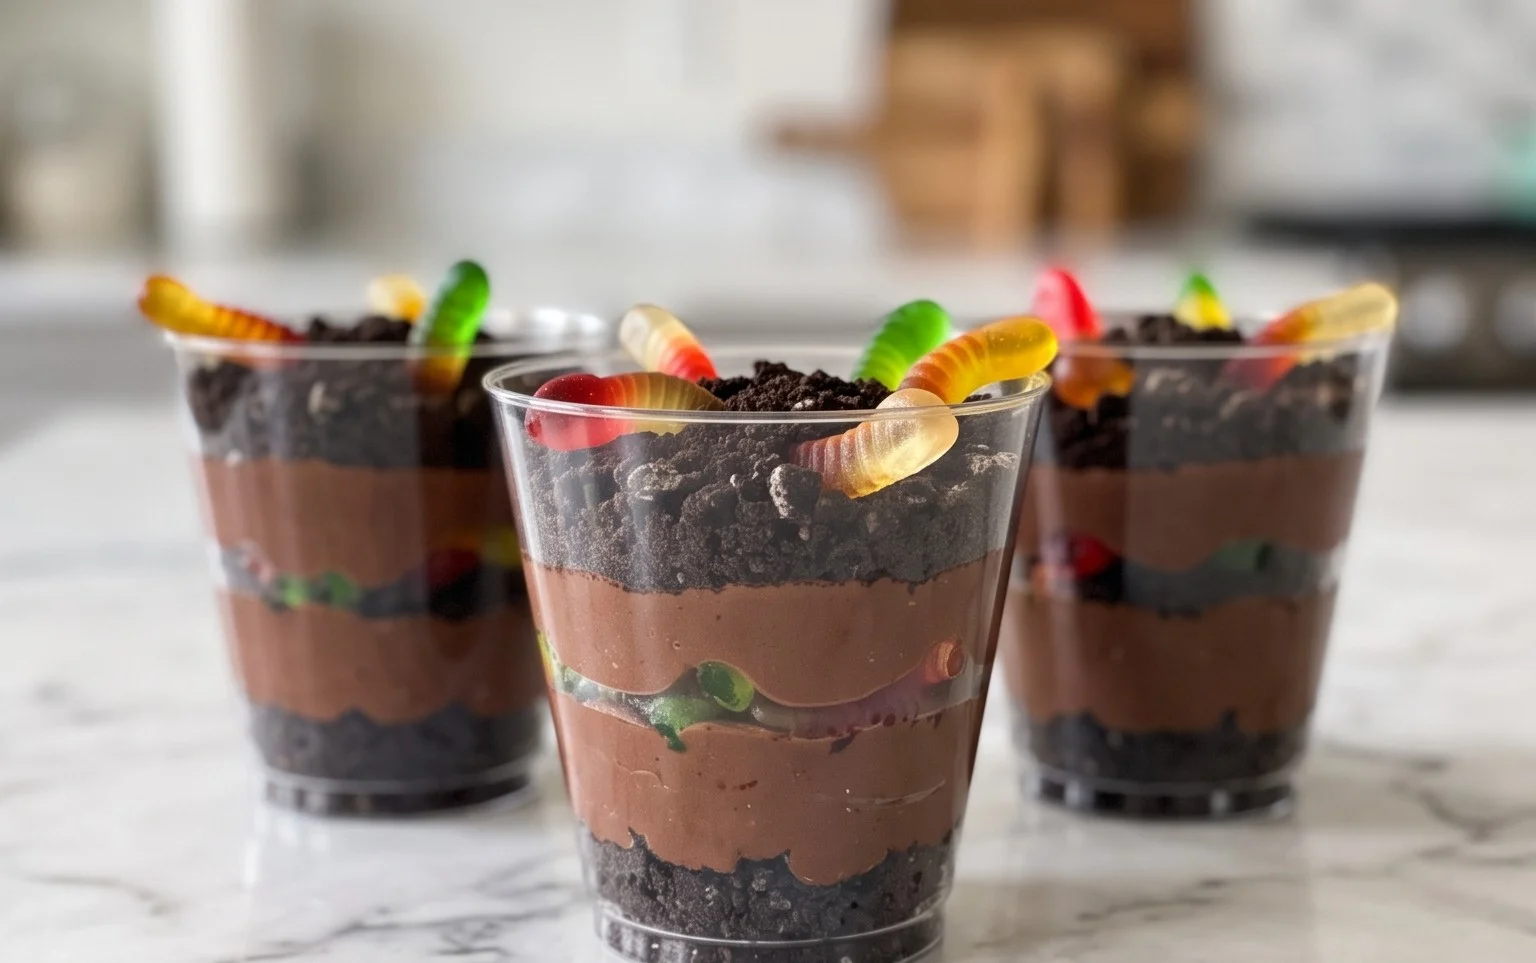
Finally, we assemble our dirt cups. Grab your serving dishes – small clear plastic cups, mason jars, or even small flower pots work well. Start by spooning some of the chocolate pudding mixture into the bottom of each cup. Then, sprinkle a generous layer of the crushed Oreo “dirt” over the pudding. Continue layering the pudding and the cookie crumbs, finishing with a layer of “dirt” on top. Stick a few gummy worms into the “dirt” so they look like they’re crawling out. For an extra touch, you can even add a small sprig of mint to look like a plant. Chill the dirt cups in the refrigerator for at least 30 minutes before serving. This allows the flavors to meld and the pudding to set completely.
Dirt Cups
These classic “dirt cups” are a fun and easy treat, perfect for kids’ parties, a silly dessert, or anytime you want something that’s both a little messy and incredibly delicious. They taste like rich chocolate pudding with a delightful cookie crunch, and the gummy worms always get a giggle. Making them is almost as much fun as eating them.
Ingredients:
- 3.4 ounces box instant chocolate pudding mix
- 2 cups milk
- 8 ounces whipped topping (thawed)
- 10-12 Oreo cookies (crushed)
- 32 gummy worms
Instructions:
The first step to creating these delightful dirt cups is preparing the chocolate pudding. In a medium-sized mixing bowl, you’ll combine the instant chocolate pudding mix with the milk. It’s important to use cold milk; using warm milk can lead to a pudding that doesn’t set properly. Whisk the mixture vigorously for about two minutes, or until it starts to thicken. You’ll notice it becoming smooth and rich. It’s crucial to get all the lumps out at this stage, so keep whisking until you have a consistent texture. Once it’s thickened, let it sit for about 5 minutes to allow it to set a little more before proceeding to the next step. This initial setting helps ensure a firmer base for our dirt cups.
Next, we need to incorporate the whipped topping to make our pudding light and airy. Gently fold the thawed whipped topping into the chocolate pudding. Don’t overmix this step; the goal is to create streaks of white within the dark chocolate, giving it a more “earthy” and less uniformly dark appearance, which enhances the dirt theme. You can use a spatula for this, carefully lifting and folding the whipped topping into the pudding. You want to maintain as much of the whipped topping’s volume as possible, as this makes the final dessert less dense and more like a creamy pudding. Overmixing can deflate the whipped topping, resulting in a heavier pudding.
Now it’s time to prepare our “dirt” component. Take your Oreo cookies and crush them into fine crumbs. You can do this in a few ways: place them in a resealable plastic bag and crush them with a rolling pin or the bottom of a sturdy glass, or pulse them in a food processor until they resemble coarse sand. For the dirt cup effect, you don’t want them to be completely powdered; a little bit of texture is good. Set aside about half of these crushed cookies. The remaining crushed cookies will be used for the base of our cups, and the reserved portion will be sprinkled on top to mimic freshly turned soil.
The assembly of the dirt cups is where the fun really begins. You’ll need individual serving cups or small clear plastic cups. Start by spooning a layer of the chocolate pudding mixture into the bottom of each cup. Don’t fill them too full just yet, as we need space for the cookie “dirt” and the gummy worms. Aim for about a quarter of the way full. On top of this pudding layer, sprinkle a generous amount of the crushed Oreo cookies. This is your first layer of dirt! Press down very lightly to help it adhere to the pudding, but don’t compact it too much, as you want to maintain some contrast in textures.
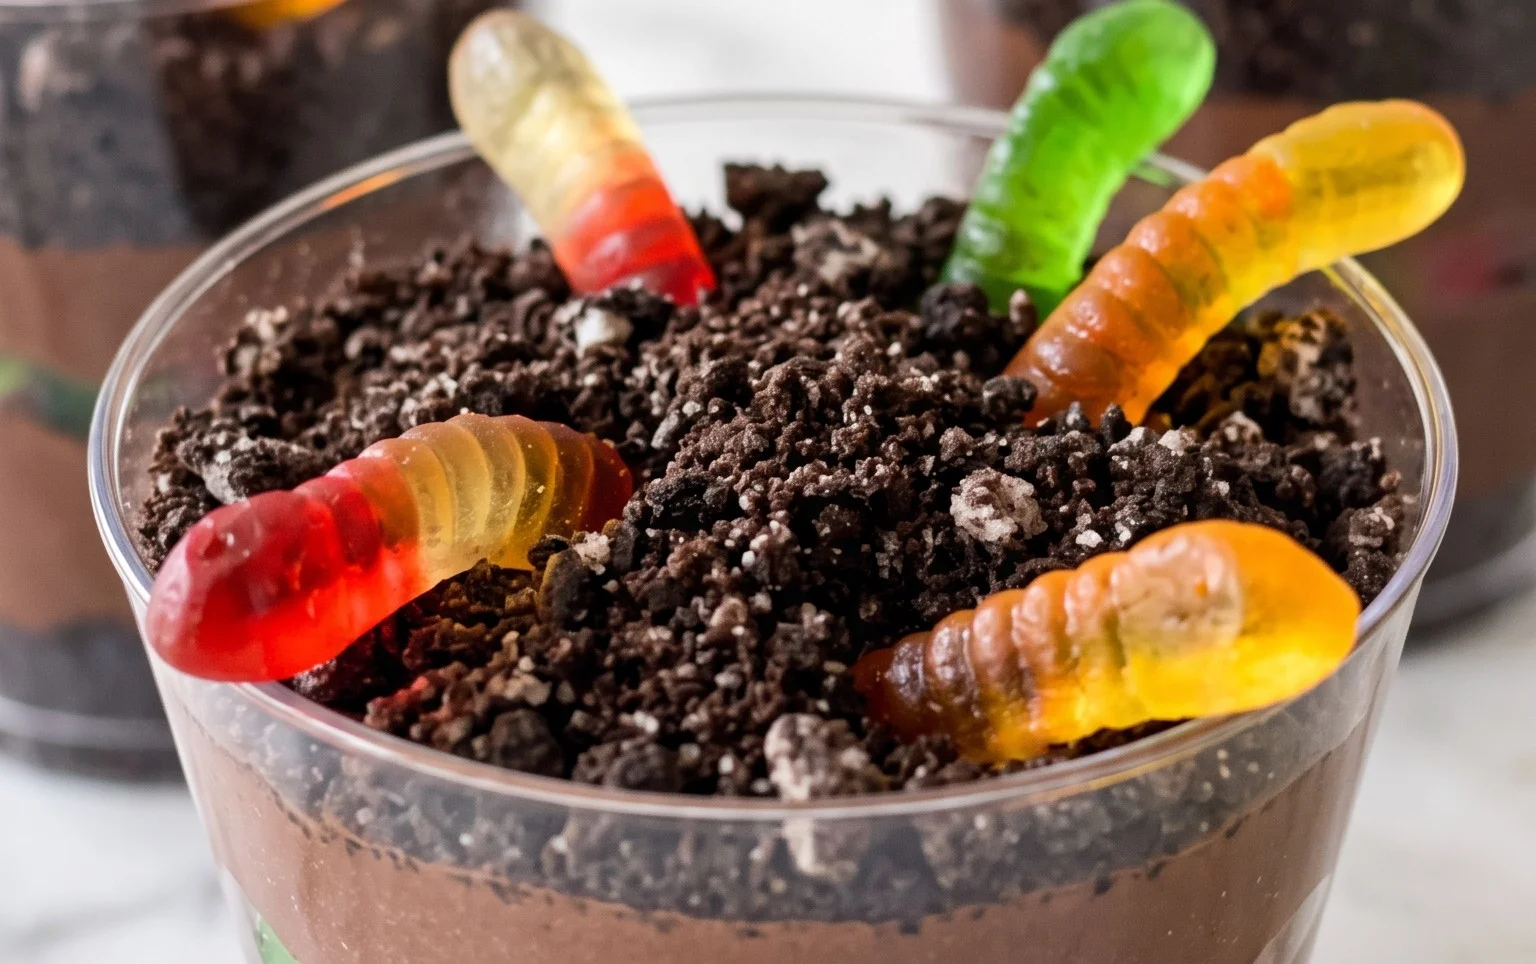
After the first layer of cookies, add another layer of the chocolate pudding mixture, filling the cups about three-quarters of the way full. This second pudding layer is important for embedding the gummy worms and creating a substantial dessert. Once you have your second pudding layer in place, it’s time for the stars of the show: the gummy worms. Take a few gummy worms and gently push them into the pudding, so they look like they are crawling out of the “dirt.” You can have them half-in and half-out, or more submerged depending on the look you’re going for. Using 32 gummy worms means you can typically put 2-3 worms in each of your 10-12 servings. Finally, sprinkle the remaining crushed Oreo cookies generously over the top of the pudding and the embedded worms. This final topping of cookie crumbs is what truly gives the dirt cups their characteristic appearance. For an extra touch, you can gently press a few more gummy worms into the top layer of “dirt” to make them more visible.
Once all your dirt cups are assembled, it’s a good idea to chill them for at least 30 minutes. This allows the pudding to firm up completely and the flavors to meld together. While they are delicious served immediately after assembly, chilling truly enhances the texture and makes them easier to handle, especially if you’re taking them to a gathering. The cold pudding and the crunchy cookies are a fantastic combination. When serving, you can place them on a platter or directly on a table, and let everyone dig in. These are meant to be a bit playful, so don’t worry about perfect presentation; the charm is in their delightful messiness. They store well in the refrigerator for a day or two, although the cookies might soften slightly over time, which isn’t necessarily a bad thing for some!
Conclusion:
These Dirt Cups are a foolproof and incredibly fun dessert that always brings smiles. The combination of creamy chocolate pudding and crunchy cookie “dirt,” topped off with playful gummy worms, makes them a hit for all ages. They’re simple enough for a weeknight treat but special enough for a party. Whether you’re making them for a birthday or just because, they’re guaranteed to be a hit. You can easily adjust the amount of pudding and cookies based on your serving dishes. Don’t be afraid to get creative with the “dirt” by adding different crushed cookies or even a sprinkle of green sprinkles for “grass”!
Frequently Asked Questions
Can I make the pudding from scratch?
Yes, you absolutely can! While instant pudding is quick and easy, you can use your favorite homemade chocolate pudding recipe. Just make sure it thickens up enough to hold its shape and doesn’t become too runny after mixing with the whipped topping.
How should I store leftover dirt cups?
Store any leftover dirt cups in an airtight container in the refrigerator. They are best enjoyed within 2-3 days. The “dirt” layer might soften slightly over time, but they will still taste delicious.
Can I make these ahead of time for a party?
You can assemble the dirt cups a few hours before your party and keep them chilled in the refrigerator. It’s best to add the gummy worms just before serving so they don’t get too sticky or fall over.
Dirt Cups
A fun and easy no-bake dessert made with chocolate pudding, whipped topping, crushed Oreos, and gummy worms.
Ingredients
-
3.4 ounces box instant chocolate pudding mix
-
2 cups milk
-
8 ounces whipped topping (thawed)
-
10-12 Oreo cookies (crushed)
-
32 gummy worms
Instructions
-
Step 1
In a medium bowl, whisk together the instant chocolate pudding mix and milk until well combined and starting to thicken. -
Step 2
Gently fold in the thawed whipped topping until no streaks of white remain and the mixture is smooth. -
Step 3
Crush the Oreo cookies into fine crumbs. This can be done in a food processor or by placing them in a zip-top bag and crushing with a rolling pin. -
Step 4
In individual serving cups or small bowls, layer the chocolate pudding mixture with the crushed Oreo ‘dirt’. -
Step 5
Top each dirt cup with a few gummy worms, pressing them slightly into the pudding to resemble worms coming out of the dirt. -
Step 6
Chill in the refrigerator for at least 30 minutes before serving to allow the pudding to set completely.
Important Information
Nutrition Facts (Per Serving)
It is important to consider this information as approximate and not to use it as definitive health advice.
Allergy Information
Please check ingredients for potential allergens and consult a health professional if in doubt.


