Butterfinger Rice Krispie Treats Recipe
Butterfinger Rice Krispie Treats are a fantastic upgrade to a beloved classic. Who doesn’t love that nostalgic crunch and chew? We’re taking that familiar texture and amping it up with the unmistakable, crisp, peanut-buttery, chocolatey goodness of Butterfinger candy bars. It’s a combination that sounds a little wild, but trust me, it’s a winner. The texture contrast between the soft, chewy treat and the crunchy candy pieces is what really makes these shine. These treats are perfect for a party, a movie night, or just because you deserve a little something extra-special. They deliver that satisfying crispy, chewy, gooey goodness with a bold flavor punch. This recipe shows you how to easily incorporate chopped Butterfingers right into the mix for maximum flavor in every bite.
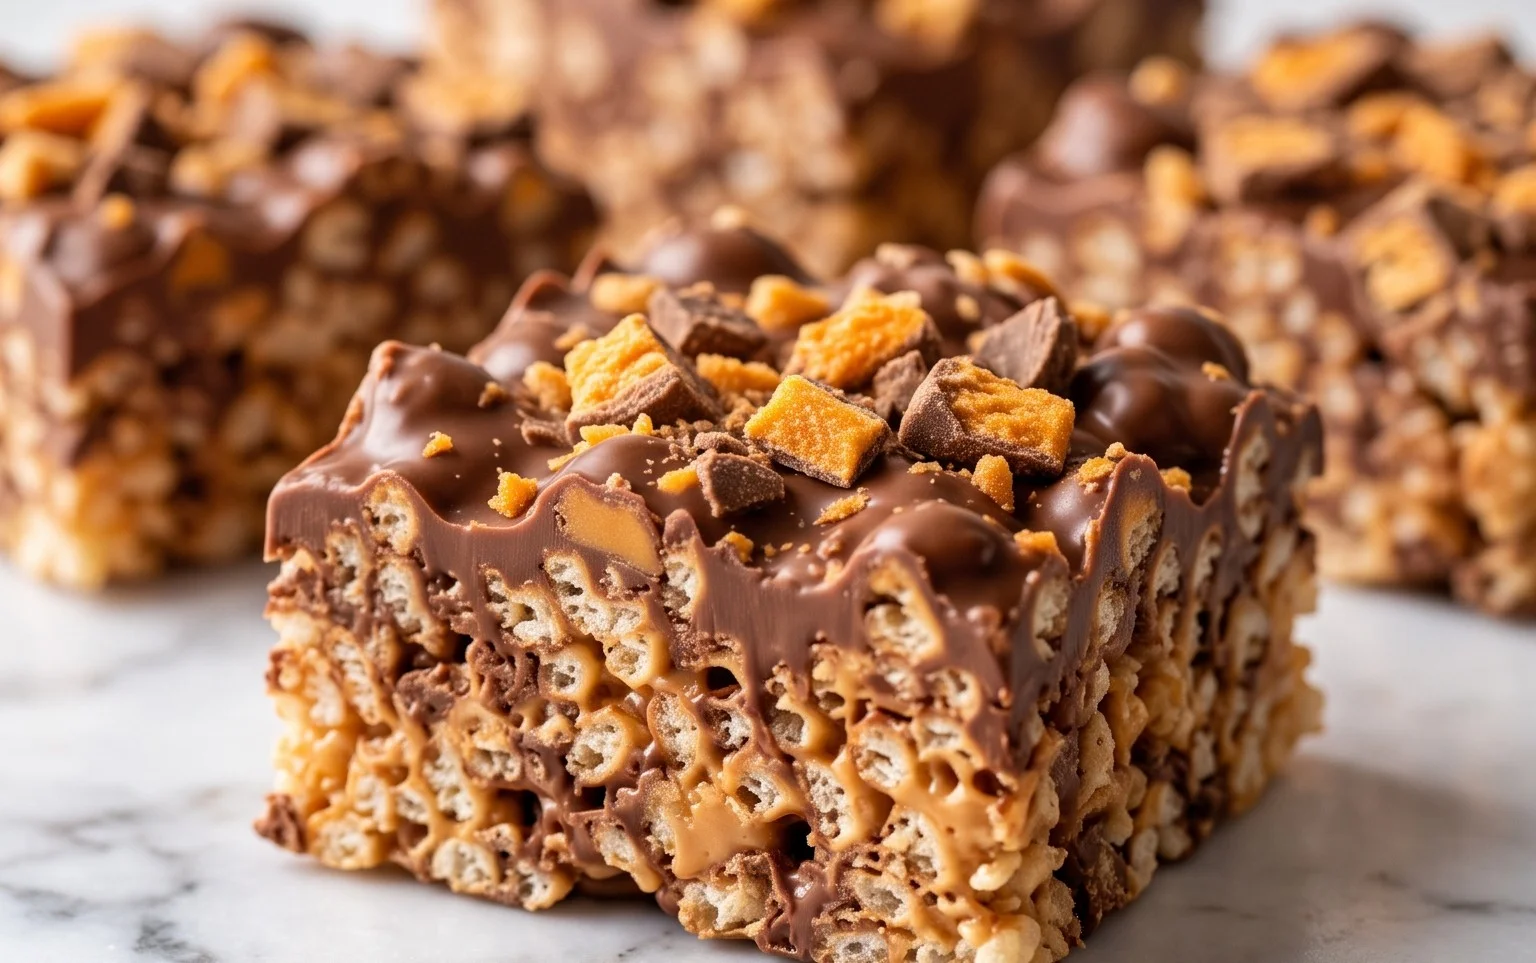
Butterfinger Rice Krispie Treats
These aren’t your grandma’s Rice Krispie treats, although I bet she’d love them. We’re taking that classic crispy, chewy, gooey goodness and giving it a serious upgrade with the unmistakable crunch and peanut-buttery, candy-coated flavor of Butterfingers. It’s a combination that sounds a little wild, but trust me, it’s a winner. They’re perfect for a party, a movie night, or just because you deserve a little something extra-special. The texture contrast between the soft, chewy treat and the crunchy candy pieces is what really makes these shine.
Ingredients:
- 12 oz marshmallows (or about 5 cups mini marshmallows)
- 3 tablespoons unsalted butter
- 1/2 cups creamy peanut butter
- 6 cups Rice Krispies cereal
- 4oz semi sweet chocolate chips (melted)
- 1/2 cups chopped Butterfingers
Cooking Instructions
First things first, get your pan ready. You’ll want a 9×13 inch baking pan. Grease it really well. You can use cooking spray, butter, or even line it with parchment paper, leaving some overhang on the sides. This makes it way easier to lift the treats out later. Parchment paper is my favorite because it guarantees nothing sticks and cleanup is a breeze.
Next, melt your marshmallows and butter. In a large saucepan, combine the marshmallows and butter over low to medium heat. Stir constantly. You want to melt these gently so you don’t scorch the marshmallows. Keep stirring until everything is smooth and creamy. Once it’s all melted, stir in the peanut butter. Make sure to mix it in thoroughly until it’s fully incorporated and you have a nice, uniform gooey mixture. This peanut butter addition is what really sets these apart from a basic treat, giving it a deeper flavor and a slightly chewier texture.
Now it’s time to add the star of the show: the Rice Krispies cereal. Pour the 6 cups of Rice Krispies cereal into the saucepan with the melted marshmallow, butter, and peanut butter mixture. Gently fold the cereal into the gooey mixture. You want to coat every single piece of cereal. Don’t stir too vigorously, or you’ll break up the cereal too much. Just a gentle folding motion works best. Once the cereal is evenly coated, stir in about half of the chopped Butterfinger pieces. Save the rest for topping later. Mixing some into the batter ensures that peanut-buttery candy flavor is distributed throughout every bite.
Prepare your pan for the treats. Lightly grease a rubber spatula or use some butter on your hands. This is important because the mixture is very sticky! Press the Rice Krispie mixture evenly into your prepared 9×13 inch pan. Again, a lightly greased spatula or buttered hands will make this much easier. Don’t press down too hard, or your treats will be dense and hard. You want them to be chewy and airy. Just a gentle, even pressing motion is all you need. You’re aiming for a relatively flat surface so the topping can spread nicely.
Let the treats cool slightly in the pan for about 5-10 minutes. While they are still warm, you can melt your semi-sweet chocolate chips. You can do this in the microwave in 30-second intervals, stirring in between, or use a double boiler. Once the chocolate is smooth and melted, drizzle it all over the top of the Rice Krispie treats. Then, sprinkle the remaining chopped Butterfinger pieces over the melted chocolate. You can gently press them in a little if you like, but they should stick to the chocolate on their own.
Now for the hardest part: waiting! Let the treats cool completely in the pan. This can take at least an hour, maybe longer. You want the chocolate to set firm. Rushing this step will result in messy, smudged chocolate and toppings. Once they are fully cooled and the chocolate is set, you can lift the entire slab out of the pan using the parchment paper overhang. Place it on a cutting board and cut into squares using a sharp knife. For extra neat cuts, you can wipe the knife clean between slices. Store any leftovers in an airtight container at room temperature. They’re best enjoyed within a few days, but honestly, they rarely last that long!

Conclusion:
So there you have it – an easy way to transform classic Rice Krispie Treats into something truly special with the addition of Butterfinger candy bars. The way the melted marshmallow mixture binds everything together, while still allowing those crunchy Butterfinger pieces to provide delightful texture and flavor, is simply magic. These Butterfinger Rice Krispie Treats are guaranteed to be a hit with kids and adults alike. They’re wonderful served slightly warm, but also hold up beautifully once cooled, making them ideal for make-ahead treats.
Serve them at your next bake sale, potluck, or just to make a regular Tuesday feel a bit more exciting. For a fun variation, try drizzling them with a little extra melted semi-sweet chocolate or even some caramel sauce before they set completely. You could also swap the semi-sweet chocolate chips for milk chocolate or even white chocolate for a different flavor profile. The possibilities are endless!
Frequently Asked Questions:
Can I use crunchy peanut butter?
Yes, you absolutely can use crunchy peanut butter if you prefer a little extra peanut texture. Just be aware that the Butterfinger pieces already add significant crunch, so the overall texture might be quite intense. Creamy peanut butter tends to blend more smoothly into the marshmallow mixture, allowing the Butterfinger pieces to stand out more distinctly.
How should I store Butterfinger Rice Krispie Treats?
Store them in an airtight container at room temperature. They are best enjoyed within 3-4 days. To prevent sticking, you can place parchment paper between layers of treats. Avoid refrigerating them, as this can make them hard and lose their chewy texture.
Butterfinger Rice Krispie Treats
A delightful twist on classic Rice Krispie treats, infused with the crunchy, peanut-buttery goodness of Butterfinger candy bars.
Ingredients
-
12oz marshmallows
-
3 tablespoons unsalted butter
-
1/2 cups creamy peanut butter
-
6 cups Rice Krispies cereal
-
4oz semi sweet chocolate chips
-
1/2 cups chopped Butterfingers
Instructions
-
Step 1
Grease a 9×13 inch pan. -
Step 2
In a large saucepan, melt butter over low heat. Add marshmallows and stir until completely melted and smooth. -
Step 3
Remove from heat. Stir in peanut butter until well combined. -
Step 4
Add Rice Krispies cereal and stir until evenly coated with the marshmallow mixture. -
Step 5
Gently fold in the chopped Butterfingers. -
Step 6
Press the mixture evenly into the prepared pan. -
Step 7
Melt semi-sweet chocolate chips and drizzle over the top of the treats. Let set completely before cutting.
Important Information
Nutrition Facts (Per Serving)
It is important to consider this information as approximate and not to use it as definitive health advice.
Allergy Information
Please check ingredients for potential allergens and consult a health professional if in doubt.